How to Flush DNS in Windows
- Click on the ‘Start’ button
- Type ‘Cmd’ and press Enter
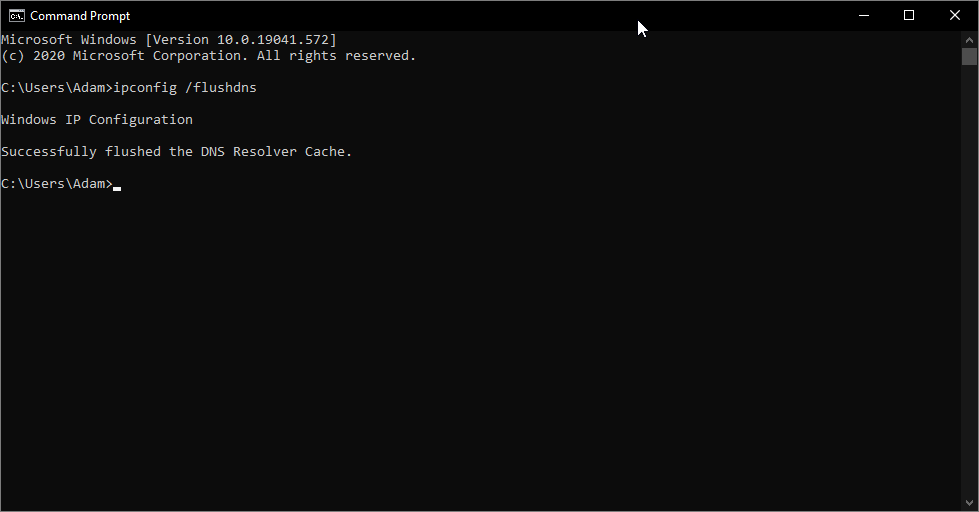
- In the Command Prompt window, type ‘ipconfig /flushdns’ and press Enter
- If successful, you will see the results “Windows IP Configuration Successfully flushed the DNS Resolver Cache.”
Applies To: Windows 10, Windows 8.1, Windows 8, Windows 7
The ‘ipconfig‘ command has been around since very early versions of Windows and is used to show details of network connections. The /flushdns switch will clear any DNS records currently remembered, which means any name resolution will be freshly looked up from your DNS server rather than using cached records.
Leave a Reply